How to convert an image file to a Geotiff

How do I rectify an image file and convert it to a Geotiff?


Raveon’s customers have a wide variety of applications for our GPS tracking system. Whether you run a golf course consisting of a few dozen vehicles, or a large fleet that spans an entire city, you may find that you require a specific image for use with the RavTrack Software. The following is an example of how to rectify an image. Rectifying an image translates into the process of converting a standard image into a usable map coordinate system. The map coordinate system will output in the form of a Geotiff file that can be loaded into RavTrack. Our example will be of a simple map image of Vista, Ca. We will use Global Mapper 12 to rectify the image.


1. First start Global Mapper 12 and select download free maps. Select an aerial map or street map, depending on the image you are trying to convert. Download only the area that you are trying to cover. This will be your reference map coordinate system.

2.  Now select rectify imagery under the file tab.


3. Set the configuration with Export and Geotiff selected as shown in the following image. Then select OK.


4. Determine the location of your map image and open it.


5. The image rectifier will open. We will began the process of selecting ground control points on our reference aerial map, and matching the point on our image. This will allow the image rectifier to know the geophysical location of the points on our map. With at least three of these points, the image rectifier will be able to convert the image to a usable Geotiff file for us to use with RavTrack.


6.  Set the projection by selecting the option in the bottom right of the screen. Configure the projection to match your reference coordinate system. Then select OK. For our example we are using UTM zone 11.


7. Find an area on your map image that you can locate as well on your reference coordinate system. Set a ground control point on the reference coordinate system by clicking on the location. Find the exact location on your map image and set the equivalent ground control point.

It is important to ensure that the locations match. You may have to zoom in or out in order to achieve the best match.

Once done, select add point to list. Do this for three different locations that are spaced far away from each other. For example, a control point in the upper left hand side of the image, the upper right hand side, and the center of the map.


8.  Once you have at least three ground control points, select OK. Your image will be converted to a map coordinate system and stored in the same directory from which your map image was retrieved.


For more information on how to use Geotiff files with RavTrack PC, or for more information on UTM zones, please refer to our Tech Blogs in the Map and Imagery Section.

Convert Map Data Files to a RavTrack PC Map File

How can I convert this high precision map that I used with my previous tracking software, the map info is stored in .dat format?

We can easily convert over data files that have stored map information. We will use Global Mapper 12 to load the files into our editable area, set our projection, and then export as a usable Geotiff. We will then convert that Geotiff into .Maplib Format.

The following steps outline the procedure:

1. Start Global Mapper 12 and select (Open all files in a Data Tree).

For our example, we have have a set of data files stored in a local directory. Select (open all files in a directory tree) and choose the directory your files are stored in.

2. Set Options for your .Dat File

The ASCII options window will show for each data file that loads. For our example, we will leave the default values and select OK. Repeat this for each Data File that loads. Note, depending on the data file and stored vector data, not all data may successfully transfer over. You may see a window that asks "Cancel all remaining data file loads", select no and continue loading your files.

3. Map is Now Loaded Into Global Mapper.

The data files have successfully loaded. We can now edit and export the map image.

4.Set Projection

We must now set the correct projection. Select (Configure) under the Tools menu. Then Select the (Projection Tab). Set the projection and zone your map covers. For our example we are using UTM, ZONE 50. There are many reference maps that can be found online with outlined UTM zones. It is very important that you select the correct projection and zone in order the the exported map image to be usable with RavTrack PC. Select OK when finished.

5. Export Geotiff

Select (Export elevation grid format) under the file menu. In the following windows select Geotiff as your export format. We will now export the map file.

6. Select Output Options

The export options window will allow us to adjust the output settings. Our focus is on the sample spacing/scale option, and the world file option highlighted in the above screen shot. The scaling option will allow you to adjust the output resolution of your image. Increase the values for smaller resolution maps, and decrease these values for larger resolution maps. Select the generate world file option and click OK. Save to a known directory that you can easily find again.

7.

Open RavTrack PC. Click (Map Creation Tool) under the tools menu. We will now take our Geotiff and convert it to .MapLib. Select (New Map).

8. Select your .tif Image

Find the directory in which you saved your Geotiff. Select and open you .tif image.

9. New Map Settings

Leave the new map settings defaulted and select OK.

10. Set Projection Settings

Set the Country, Grid, and Zone that the map covers. Note, these parameters must match the settings you placed when creating the Geotiff. Select Next when complete.

11.Save Your MapLib

Your Geotiff has now been converted. Select (Save Maplib as) under the file menu. Save your completed map into your RavTrack PC map directory. This directory location can be found by selecting Help>About RavTrack under RavTrack PCs help menu. After the Save is complete, exit the map creation software.

12. Select Your New Map

Your Map is now ready to be used with RavTrack PC. Select (Program Properties) under the file menu in RavTrack PC. Your map should be located in the lower left hand area of the window. Select your Map and click Save and Exit.

13.Success!

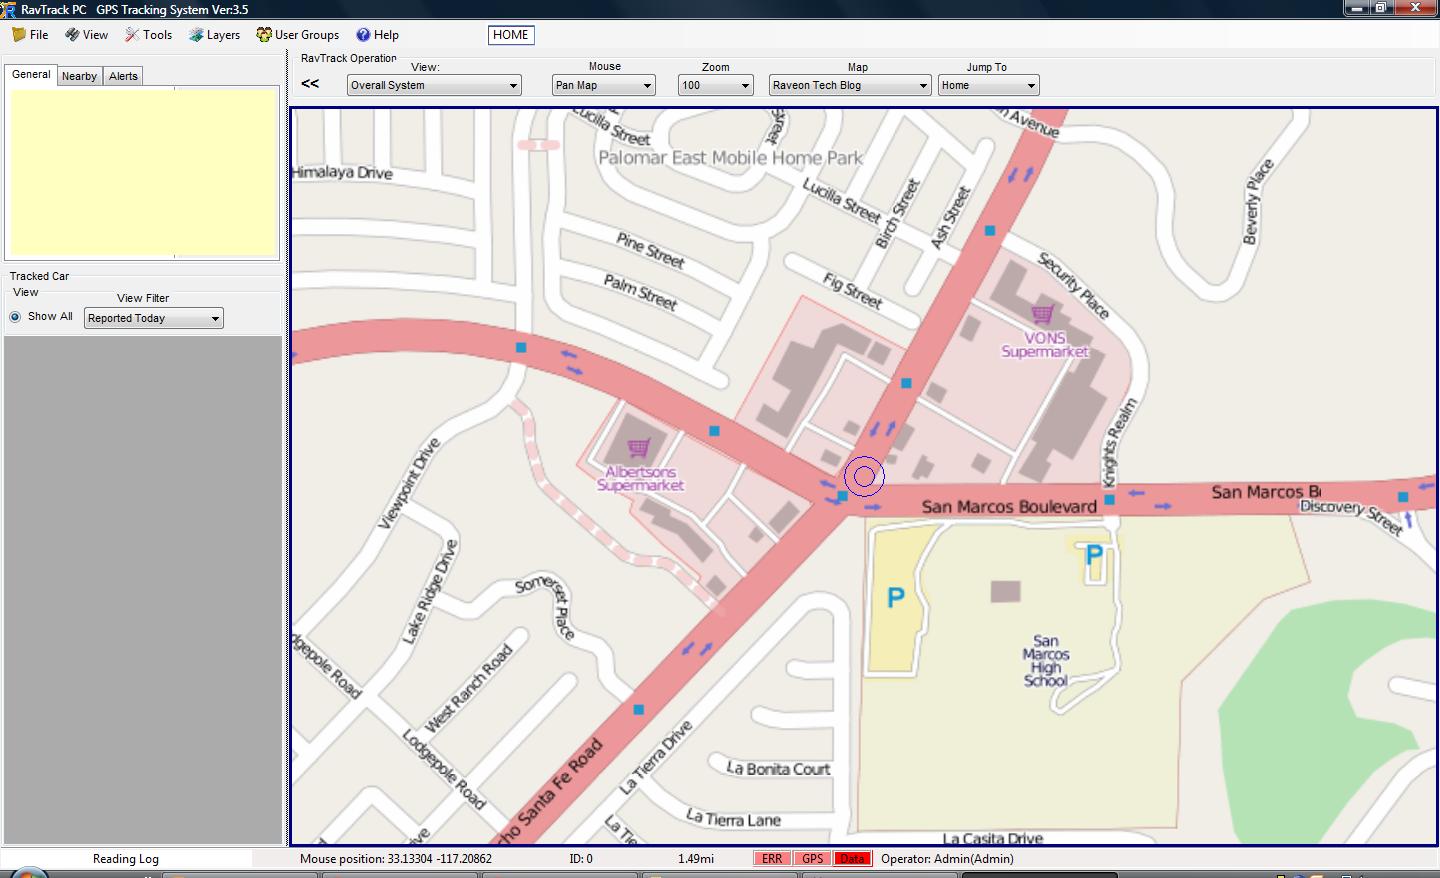
The conversion is complete. Select (Go to Map) under the view menu. Center your map, and your done.

Use Global Mapper 12 to Create a RavTrack Map

The purpose of this tech blog entry is to guide a RavTrack PC user in acquiring a usable Geotiff Map File from Global Mapper 12. This Geotiff can be converted to .Maplib format and displayed on RavTrack PC.  Please note that earlier versions of Global Mapper, including version 10.02 and 11.00, can be utilized for the same operation, however, some specific  WMS data sources are not built in.

Global Mapper 12 is a powerful mapping software that allows access to high resolution geospatial imagery which can be downloaded, edited, and extracted. We are going to focus on the downloading and extracting aspect of the software.  Most RavTrack users have applications that require the use of street, satellite (Aerial), topographic, and similar maps. Obtaining these maps can become somewhat difficult; however, with software packages such as Global Mapper, you can easily obtain a usable Geotiff that can be displayed on RavTrack PC.

To accomplish this please follow these steps:

1. Start up Global Mapper 12.

Ensure you have the registered version. The trial version may limit your ability to extract the geotiff map image.

2. Select (Download free maps/imagery)

Select the type of map you wish to use. Common maps include openstreetmap.org and NAIP Color Imagery. Enter the area location details in the (Select download area) section. The amount of area selected is proportional to download time, larger areas will take longer to process and download.

3. Configure Projection

After your map image has loaded on the screen, select (Configure) under the tools menu.

4. Set the Projection Parameters.

Select (UTM) and the (Zone) for your map’s area. There are many reference maps online which outline the UTM Zones. For our example we are using UTM projection in Zone 11. After you have selected UTM and your Zone, click (OK). Your map is now in the correct projection.

5. Select (Export Raster/Image Format) in the file menu.

Your Map is now ready to export. Ensure you have selected the area you wish to cover.

6. Select Geotiff as your export format.

7. Set Export Options

This is where you can adjust the map image you are exporting. For our example we are going to focus on the (Sample Spacing/Scale) and (World File) option. The scaling option allows you to control you resolution. If you wish to have a high resolution map (More Detail and lower elevation) decrease these values, for lower resolution and a smaller map file, increase these values. Ensure you select (Create TFW (World File)). Once this is done, click OK.

8. Start RavTrack PC and select Map Creation Tool

After the Geotiff export is complete, open RavTrack PC. Select (Map Creation Tool) in the tools menu. We will now begin to convert the Geotiff to a usable RavTrack Image (.MapLib format).

9. Select New Map

This is the map creation software that will convert the geotiff to .maplib.

10. Select the Geotiff Image

Find the directory of the Geotiff image and select the .tif image that exported by Global Mapper. Once selected click OK and the geotiff will be loaded into the map creation tool.

11. Select OK to the Default Settings.

Click OK to the default settings here and select OK.

12. Click Yes to World File

The map creation tool will ask you wif you would like to use the world file you selected in Global Mapper. Click Yes.

13. Select Grid

This section is vital, incorrect values will cause the map image to display incorrect coordinates. Enter your (Region), (Grid), and (Zone). For our example we are located in the United States, using UTM North, and in Zone 11. Once complete, click next.

14.Verify Coordinates

You have completed the conversion process. Click anywhere on the map and the coordinates of that location will display on the lower left hand side. You can verify these coordinates by referencing them with known locations from an alternate source such as Google Earth.

15. Save your Map

Select save MapLib as under the file menu.

16. Locate your RavTrack Map Directory.

Locate your RavTrack PC map directory. You can find the specific location of this folder by selecting ABOUT RAVTRACK under the RavTrack PC help menu. Save your .MapLib.

17. Open Program Properties

Open Program Properties located under the file menu in RavTrack PC. Your Map will be located on the lower right hand side. Select your Map file and click save and exit.

18. Success!

You have successfully converted a Geotiff to .Maplib. If your map does not show on the screen immediately, select VIEW>GO TO MAP. Your map will display and you can now use it with RavTrack PC.